How to Install WordPress 4.9 On Ubuntu 16.04 Using LAMP Stack
First, we shall uncover the various steps for installation of LAMP stack before progressing to install WordPress.
Note: The Apache default root directory is /var/www/html, all your web files will be stored in this directory.
The database server deployment is not yet secure, for this reason, issue the following command to harden it’s security:
Importantly, if you do not want to change the root password, then type
Hoping that everything went on just fine, you can now enjoy WordPress
on your system. However, to express any concerns or ask questions
concerning the steps above or even provide additional information that
you think has not been included in this tutorial, you can use the
feedback section below to get back to us.
Step 1: Install Apache Web Server
To install Apache web server, issue the command below:$ sudo apt-get install apache2 apache2-utilsWe need to enable Apache2 web server to start at system boot time, as well start the service as follows:
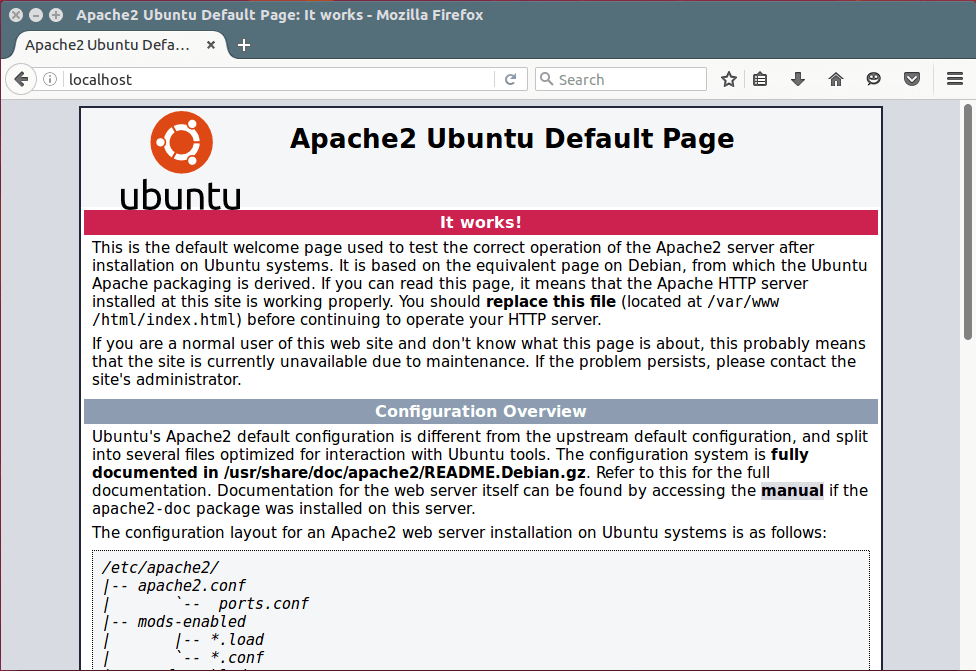
$ sudo systemctl enable apache2
$ sudo systemctl start apache2
To test whether the server is running, open your web browser and enter
http://server_address. The Apache2 default index page will be displayed in case the web server is up and running.
Apache Default Page Under Ubuntu 16.04
Step 2: Install MySQL Database Server
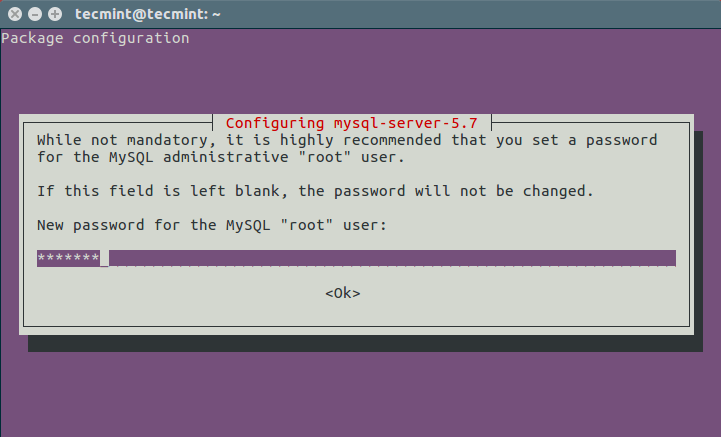
Next, we need to install MySQL database server by running the command below:$ sudo apt-get install mysql-client mysql-serverDuring the package installation, you will be prompted to set the root user password for mysql as seen in the image below. Choose a good and secure password, then hit the OK button twice to proceed further.
Set MySQL root Password
$ sudo mysql_secure_installationFirstly, you will be asked to install the ‘validate_password’ plugin, so type in
Y/Yes and press Enter, and also choose the default password strength level. On my system, I already installed it.Importantly, if you do not want to change the root password, then type
N/No when prompted to do so. Answer Y/Yes for the rest of the subsequent questions.Step 3: Install PHP and Modules
Last but not least, we shall install PHP and a few modules for it to work with the web and database servers using the command below:$ sudo apt-get install php7.0 php7.0-mysql libapache2-mod-php7.0 php7.0-cli php7.0-cgi php7.0-gdFurthermore, to test if php is working in collaboration with the web server, we need to create a
info.php file inside /var/www/html.$ sudo vi /var/www/html/info.phpAnd paste the code below into the file, save it and exit.
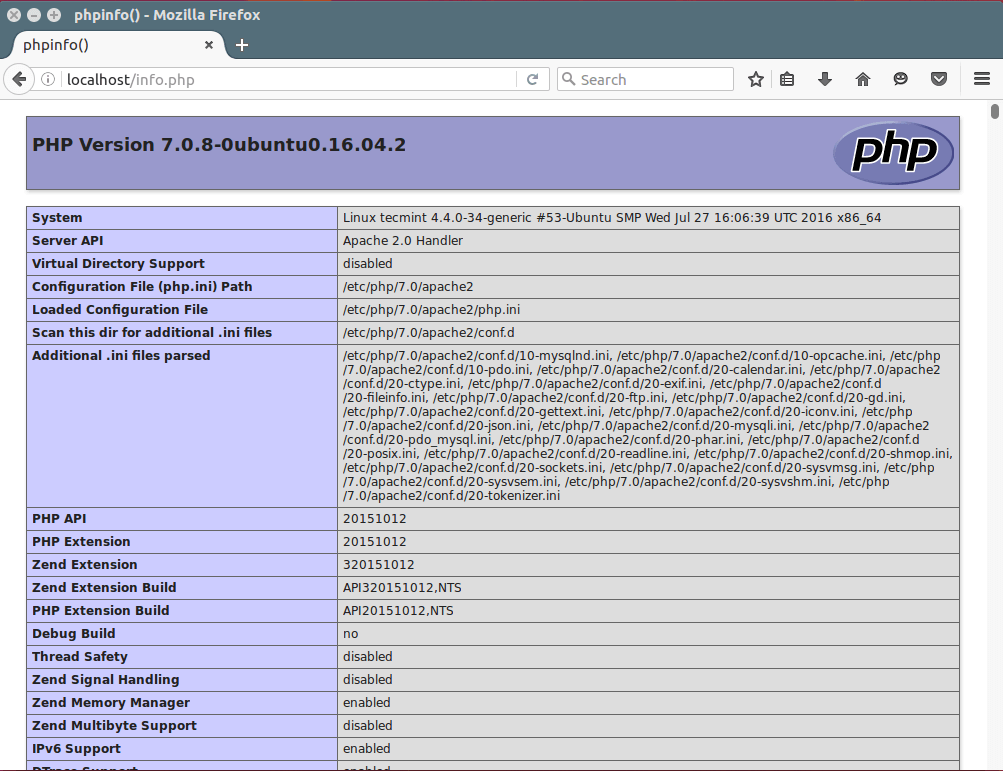
<?php
phpinfo();
?>
When that is done, open your web browser and type in the this address
http://server_address/info.php. You should be able to view the php info page below as a confirmation.
PHP 7.0 Information
Step 4: Install WordPress CMS
Download the latest WordPress package and extract it by issuing the commands below on the terminal:$ wget -c http://wordpress.org/latest.tar.gz $ tar -xzvf latest.tar.gzThen move the WordPress files from the extracted folder to the Apache default root directory, /var/www/html/:
$ sudo rsync -av wordpress/* /var/www/html/Next, set the correct permissions on the website directory, that is give ownership of the WordPress files to the web server as follows:
$ sudo chown -R www-data:www-data /var/www/html/
$ sudo chmod -R 755 /var/www/html/
Step 5: Create WordPress Database
Execute the command below and provide the root user password, then hit Enter to move to the mysql shell:$ mysql -u root -pAt the mysql shell, type the following commands, pressing Enter after each line of a mysql command. Remember to use your own, valid values for database_name, databaseuser, and also use a strong and secure password as databaseuser_password:
mysql> CREATE DATABASE wp_myblog;
mysql> GRANT ALL PRIVILEGES ON wp_myblog.* TO 'your_username_here'@'localhost' IDENTIFIED BY 'your_chosen_password_here';
mysql> FLUSH PRIVILEGES;
mysql> EXIT;
Go the /var/www/html/ directory and rename existing
wp-config-sample.php to wp-config.php:$ sudo mv wp-config-sample.php wp-config.phpthen update it with your database information under the MySQL settings section (refer to the highlighted boxes in the image below):
// ** MySQL settings - You can get this info from your web host ** //
/** The name of the database for WordPress */
define('DB_NAME', 'database_name_here');
/** MySQL database username */ define('DB_USER', 'username_here');
/** MySQL database password */ define('DB_PASSWORD', 'password_here');
/** MySQL hostname */ define('DB_HOST', 'localhost');
/** Database Charset to use in creating database tables.
*/ define('DB_CHARSET', 'utf8');
/** The Database Collate type. Don't change this if in doubt.
*/ define('DB_COLLATE', '');
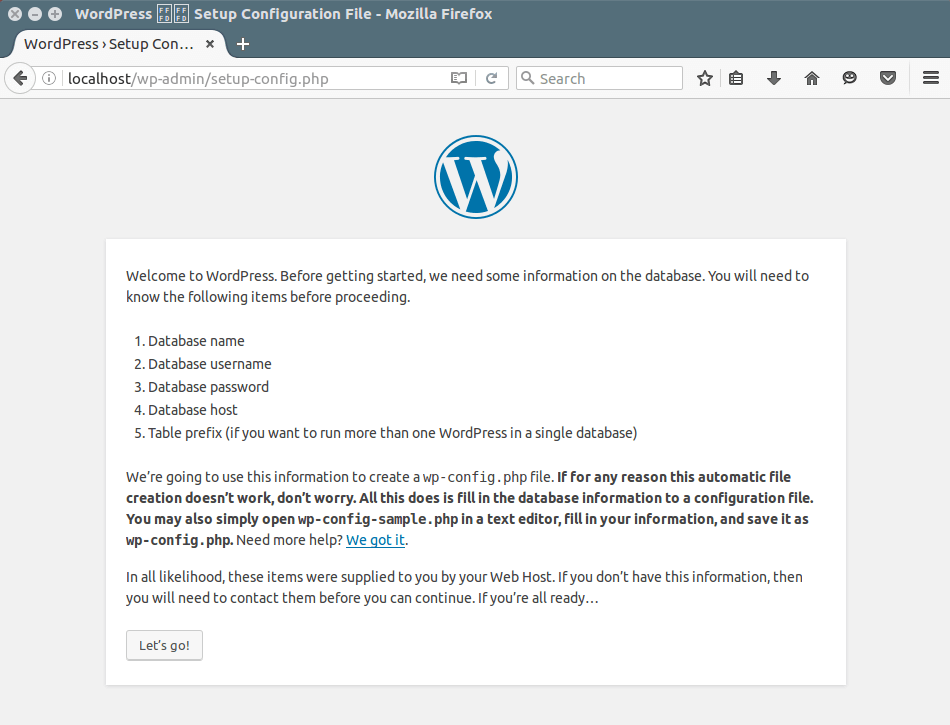
Afterwards, restart the web server and mysql service using the commands below:$ sudo systemctl restart apache2.service $ sudo systemctl restart mysql.serviceOpen your web browser, then enter your server address:
http://server-address to get the welcome page below. Read through the page and click on “Let’s go!” to proceed further and fill all requested on screen information .
WordPress Installation Wizard
Share


Comments
Post a Comment