Install Wordpress on Ubuntu 16.04
Step 4: Download WordPress
Now that our server software is configured, we can download and set up WordPress. For security reasons in particular, it is always recommended to get the latest version of WordPress from their site.Change into a writable directory and then download the compressed release by typing:
- cd /tmp
- curl -O https://wordpress.org/latest.tar.gz
- tar xzvf latest.tar.gz
.htaccess file and set its permissions so that this will be available for WordPress to use later.Create the file and set the permissions by typing:
- touch /tmp/wordpress/.htaccess
- chmod 660 /tmp/wordpress/.htaccess
- cp /tmp/wordpress/wp-config-sample.php /tmp/wordpress/wp-config.php
upgrade directory, so that
WordPress won't run into permissions issues when trying to do this on
its own following an update to its software:
- mkdir /tmp/wordpress/wp-content/upgrade
-a
flag to make sure our permissions are maintained. We are using a dot
at the end of our source directory to indicate that everything within
the directory should be copied, including hidden files (like the .htaccess file we created):
- sudo cp -a /tmp/wordpress/. /var/www/html
Step 5: Configure the WordPress Directory
Before we do the web-based WordPress setup, we need to adjust some items in our WordPress directory.Adjusting the Ownership and Permissions
One of the big things we need to accomplish is setting up reasonable file permissions and ownership. We need to be able to write to these files as a regular user, and we need the web server to also be able to access and adjust certain files and directories in order to function correctly.We'll start by assigning ownership over all of the files in our document root to our username. We will use
sammy as our username in this guide, but you should change this to match whatever your sudo user is called. We will assign group ownership to the www-data group:
- sudo chown -R sammy:www-data /var/www/html
setgid bit on each of the
directories within the document root. This causes new files created
within these directories to inherit the group of the parent directory
(which we just set to www-data) instead of the creating
user's primary group. This just makes sure that whenever we create a
file in the directory on the command line, the web server will still
have group ownership over it.We can set the
setgid bit on every directory in our WordPress installation by typing:
- sudo find /var/www/html -type d -exec chmod g+s {} \;
wp-content directory so that the web interface can make theme and plugin changes:
- sudo chmod g+w /var/www/html/wp-content
- sudo chmod -R g+w /var/www/html/wp-content/themes
- sudo chmod -R g+w /var/www/html/wp-content/plugins
Setting up the WordPress Configuration File
Now, we need to make some changes to the main WordPress configuration file.When we open the file, our first order of business will be to adjust some secret keys to provide some security for our installation. WordPress provides a secure generator for these values so that you do not have to try to come up with good values on your own. These are only used internally, so it won't hurt usability to have complex, secure values here.
To grab secure values from the WordPress secret key generator, type:
- curl -s https://api.wordpress.org/secret-key/1.1/salt/
Warning! It is important that you request unique values each time. Do NOT copy the values shown below!
Output
define('AUTH_KEY',         '1jl/vqfs<XhdXoAPz9 DO NOT COPY THESE VALUES c_j{iwqD^<+c9.k<J@4H');
define('SECURE_AUTH_KEY',  'E2N-h2]Dcvp+aS/p7X DO NOT COPY THESE VALUES {Ka(f;rv?Pxf})CgLi-3');
define('LOGGED_IN_KEY',    'W(50,{W^,OPB%PB<JF DO NOT COPY THESE VALUES 2;y&,2m%3]R6DUth[;88');
define('NONCE_KEY',        'll,4UC)7ua+8<!4VM+ DO NOT COPY THESE VALUES #`DXF+[$atzM7 o^-C7g');
define('AUTH_SALT',        'koMrurzOA+|L_lG}kf DO NOT COPY THESE VALUES  07VC*Lj*lD&?3w!BT#-');
define('SECURE_AUTH_SALT', 'p32*p,]z%LZ+pAu:VY DO NOT COPY THESE VALUES C-?y+K0DK_+F|0h{!_xY');
define('LOGGED_IN_SALT',   'i^/G2W7!-1H2OQ+t$3 DO NOT COPY THESE VALUES t6**bRVFSD[Hi])-qS`|');
define('NONCE_SALT',       'Q6]U:K?j4L%Z]}h^q7 DO NOT COPY THESE VALUES 1% ^qUswWgn+6&xqHN&%');
Now, open the WordPress configuration file:
- nano /var/www/html/wp-config.php
/var/www/html/wp-config.php
. . .

define('AUTH_KEY',         'put your unique phrase here');
define('SECURE_AUTH_KEY',  'put your unique phrase here');
define('LOGGED_IN_KEY',    'put your unique phrase here');
define('NONCE_KEY',        'put your unique phrase here');
define('AUTH_SALT',        'put your unique phrase here');
define('SECURE_AUTH_SALT', 'put your unique phrase here');
define('LOGGED_IN_SALT',   'put your unique phrase here');
define('NONCE_SALT',       'put your unique phrase here');

. . .
/var/www/html/wp-config.php
. . .

define('AUTH_KEY',         'VALUES COPIED FROM THE COMMAND LINE');
define('SECURE_AUTH_KEY',  'VALUES COPIED FROM THE COMMAND LINE');
define('LOGGED_IN_KEY',    'VALUES COPIED FROM THE COMMAND LINE');
define('NONCE_KEY',        'VALUES COPIED FROM THE COMMAND LINE');
define('AUTH_SALT',        'VALUES COPIED FROM THE COMMAND LINE');
define('SECURE_AUTH_SALT', 'VALUES COPIED FROM THE COMMAND LINE');
define('LOGGED_IN_SALT',   'VALUES COPIED FROM THE COMMAND LINE');
define('NONCE_SALT',       'VALUES COPIED FROM THE COMMAND LINE');

. . .
The other change we need to make is to set the method that WordPress should use to write to the filesystem. Since we've given the web server permission to write where it needs to, we can explicitly set the filesystem method to "direct". Failure to set this with our current settings would result in WordPress prompting for FTP credentials when we perform some actions.
This setting can be added below the database connection settings, or anywhere else in the file:
/var/www/html/wp-config.php
. . .

define('DB_NAME', 'wordpress');

/** MySQL database username */
define('DB_USER', 'wordpressuser');

/** MySQL database password */
define('DB_PASSWORD', 'password');

. . .

define('FS_METHOD', 'direct');
Step 6: Complete the Installation Through the Web Interface
Now that the server configuration is complete, we can complete the installation through the web interface.In your web browser, navigate to your server's domain name or public IP address:
http://server_domain_or_IP
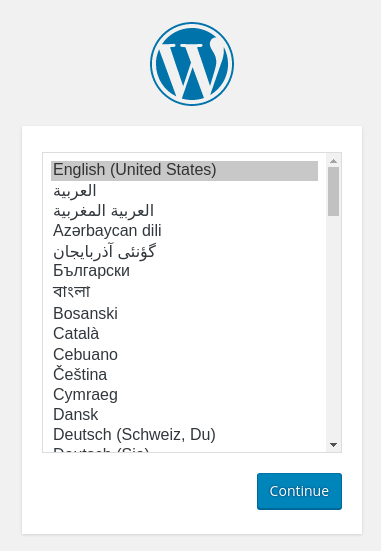
Next, you will come to the main setup page.
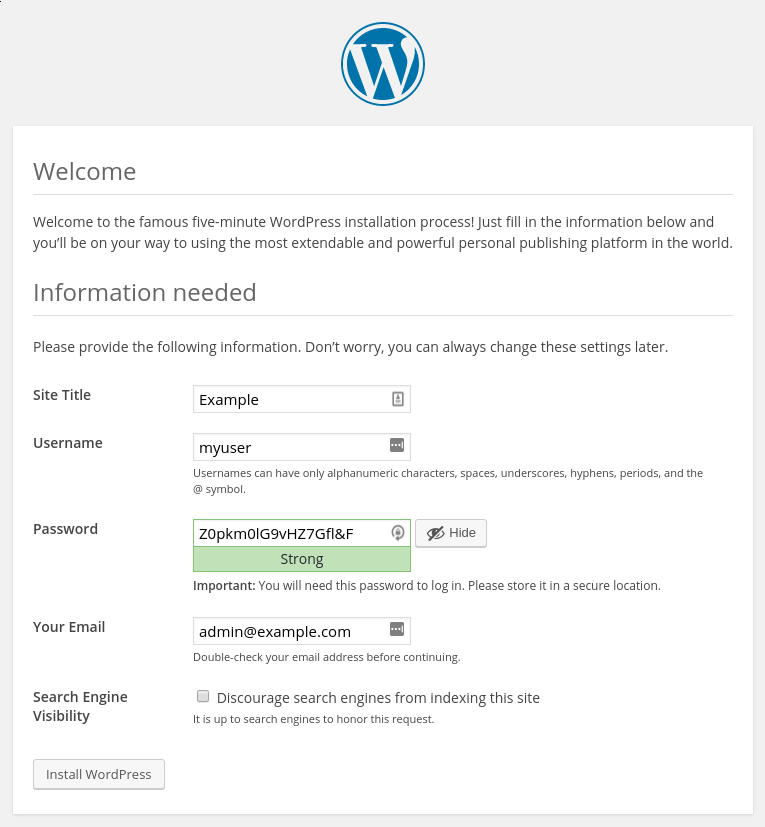
Select a name for your WordPress site and choose a username (it is recommended not to choose something like "admin" for security purposes). A strong password is generated automatically. Save this password or select an alternative strong password.
Enter your email address and select whether you want to discourage search engines from indexing your site:

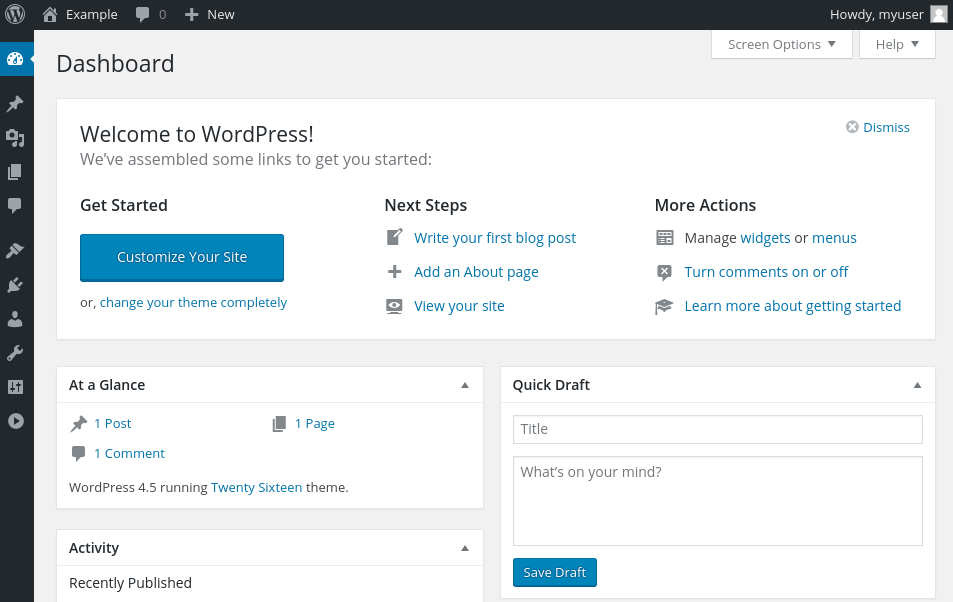
Once you log in, you will be taken to the WordPress administration dashboard:
Upgrading WordPress
As WordPress upgrades become available, you will be unable in install them through the interface with the current permissions.The permissions we selected here are meant to provide a good balance between security and usability for the 99% of times between upgrading. However, they are a bit too restrictive for the software to automatically apply updates.
When an update becomes available, log back into your server as your
sudo user. Temporarily give the web server process access to the whole document root:
- sudo chown -R www-data /var/www/html
When you are finished, lock the permissions down again for security:
- sudo chown -R sammy /var/www/html
Comments
Post a Comment